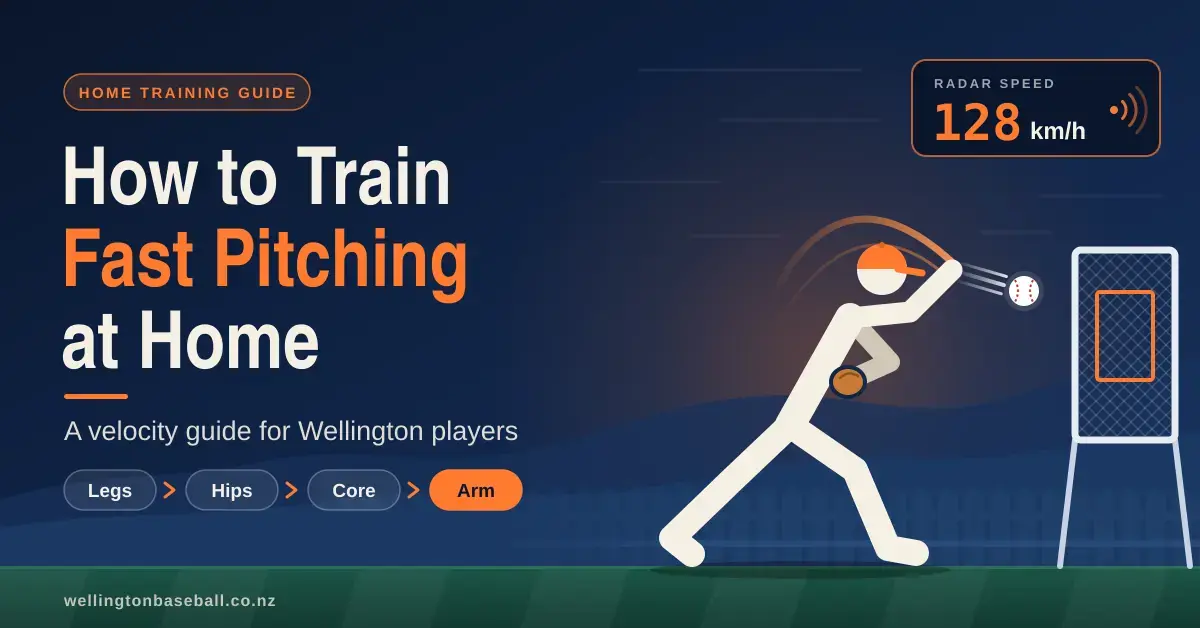
Throwing a baseball harder is one of the most sought-after goals in the game, and much of the work that builds pitching velocity can be done in a backyard, garage or driveway. The key idea to grasp first is that speed is produced by the whole body — the legs, hips and core generate the force that the arm simply delivers — so effective home training blends movement drills, strength work and, above all, careful arm care. This guide explains the drills and principles behind training for faster pitching at home, with a New Zealand and Wellington focus, and it flags where caution and professional guidance matter.
One point on terminology: the phrase “fast pitch” is also used in fastpitch softball, a related but separate sport that uses an underarm windmill delivery. This article is about overhand baseball pitching, where velocity is measured in kilometres per hour on a radar gun.
Key Points
- Velocity starts from the ground. The legs, hips and core create the force your arm delivers, so lower-body drive and rotation matter more than arm strength alone.
- Mechanics before intensity. Clean, repeatable movement protects the arm and lets every other gain show up on the radar gun.
- Arm care is non-negotiable. A daily resistance-band routine and sensible rest do more for long-term speed than any single drill.
- Respect workload limits. Follow Pitch Smart pitch-count and rest guidelines, and treat weighted-ball work with caution — especially for growing players.
- Consistency beats marathon sessions. Short, focused daily practice generally outperforms one long weekly session.
Where pitching velocity actually comes from
It is tempting to think a fast pitch is all about a strong shoulder, but velocity is produced by a chain of movements that starts at the ground. The back leg pushes against the rubber, the hips rotate, the torso follows, and only at the very end does the arm whip the ball toward the plate. This sequence is often called the kinetic chain, and if any link fires out of order, speed leaks away before the ball is released.
Because of this, the most valuable home training builds lower-body drive, core rotation and clean timing, then protects the arm that has to deliver all that force. If you are new to the position, it helps to understand the pitcher’s role and to study sound pitching mechanics before chasing a number on the radar gun.
Lower-body mechanics: drive and a firm front side
In a home setting you can rehearse the two movements that matter most for speed: the drive off the back leg and a braced front leg at landing. Leading with the hip keeps your energy moving toward the target, while “opening up” the front shoulder too early — a very common fault — bleeds power away. A firm front leg then acts as a brake, stopping the lower body so that stored energy snaps the torso and arm forward.
Stride length and glute engagement
A long, controlled stride helps create leverage; many coaches look for a stride roughly 80–100% of the pitcher’s height. On grass or a driveway you can mark your landing spot to check that the stride is consistent and pointed straight at the target rather than drifting to the side.
| Phase | Focus | Goal |
|---|---|---|
| Leg lift | Balance and posture | Controlled start, no wasted motion |
| Stride | Explosive push off the back leg | Leverage toward the target |
| Landing | Firm, braced front side | Transfer energy up into the torso |
| Finish | Full follow-through | Safe deceleration of the arm |
The towel drill for extension and timing
The towel drill lets you rehearse a full-speed delivery without the stress of releasing a ball, which makes it handy on wet Wellington days when throwing outdoors is not practical. You hold a small towel between your index and middle fingers and go through your motion, aiming to “snap” it as far out in front of your body as possible.
How to set it up
Place a target — a chair back or a partner’s glove — roughly an arm’s length beyond your normal release point, and try to reach it at full extension while holding your finish for a second or two. Treat the drill as a way to groom mechanics and feel, not as a replacement for actual throwing.
Weighted and plyo-ball throwing — handle with care
Weighted-ball training uses balls lighter and heavier than a standard five-ounce (about 142-gram) baseball. Lighter balls encourage the arm to move faster, while heavier balls build throwing-specific strength; thrown into a heavy net or against a plyo wall, they can form part of a home programme. The table below shows a simple example set, though real programmes often use a wider range of weights.
| Ball type | Example weight | Main purpose |
|---|---|---|
| Underload | ~4 oz (113 g) | Encourages faster arm speed |
| Standard | 5 oz (142 g) | Competition feel and accuracy |
| Overload | ~6 oz (170 g) | Throwing-specific strength |
| Heavy plyo | 450 g–1 kg+ | Warm-up and drill work only, never full throws |
The research, honestly
The evidence on weighted balls is mixed. Reviews find they can raise velocity for some throwers, but a prospective study reported that close to one in four participants suffered a shoulder or elbow injury — often in the following season rather than during the programme itself — and elbow (varus) torque rose as the ball got heavier. For these reasons, young and still-growing pitchers should not begin weighted-ball work without coaching supervision, and everyone should fold it into sensible workload limits. See our notes on junior player safety for more on protecting young arms.
Rotational power with medicine balls
Pitching is a rotational action, and much of its speed comes from the separation between the hips and the shoulders — the hips begin to open while the chest stays closed a fraction longer, storing tension that then releases. Throwing a 2–4 kg medicine ball hard into the ground or against a brick wall trains the obliques and core to produce that rotation.
A simple separation drill
Stand side-on to a wall in a throwing stance, start to turn your hips toward it while keeping your chest facing away, then explode through the rotation and release the ball. Aim for maximum speed on each repetition rather than simply moving the weight; three sets of eight to ten throws per side is a common guideline.
Arm care: the resistance-band routine
A fast arm is worthless if it is injured, so daily arm care is the foundation of any velocity plan. Resistance-band routines — the best known being the J-Bands arm-care programme from Jaeger Sports, an eleven-exercise sequence — target the small rotator-cuff and shoulder-blade muscles that stabilise the shoulder. Anchored to a fence or a closed door, they can be done at home in a few minutes before and after throwing.
What the routine covers
The emphasis is on slow, controlled movement and endurance rather than speed or heavy load.
| Exercise | Main muscle | Why it matters |
|---|---|---|
| Internal rotation | Subscapularis | Supports the acceleration phase |
| External rotation | Infraspinatus | Helps the arm brake safely after release |
| Y and T raises | Lower trapezius | Posture and a consistent arm slot |
| Reverse flies | Rear shoulder and scapula | Proper shoulder-blade movement in the windup |
Grip, wrist and the four-seam release
The hand and wrist add the final touch to a pitch. Stronger forearms let you hold the ball firmly and release it cleanly, and a classic home exercise is the rice-bucket drill: submerge your hand in a bucket of uncooked rice and perform squeezing and rotating movements for a few minutes to build endurance. Forearm strength also supports the elbow, which absorbs significant stress when throwing hard.
A common myth is worth correcting: high backspin on a four-seam fastball does not make the ball literally rise. Because of the Magnus effect, a well-spun fastball drops less than a batter expects, so it can appear to “rise” — a perceptual illusion rather than real lift. Clean grip and release help create that backspin and also keep the pitch accurate.
Lower-body power: plyometric training
Plyometrics — explosive jumping and bounding drills — bridge the gap between gym strength and on-mound speed. Lateral bounds (sometimes called skater jumps) mimic the side-to-side push of the pitching stride, while broad jumps and single-leg hops build the forward drive and the lead-leg “block” that a pitcher needs. These need little more than flat ground and can be done in any backyard.
Quality matters more than quantity: focus on moving quickly and landing under control, and keep the volume low so fatigue does not spoil your form.
Filming yourself: simple video analysis
A smartphone is one of the most useful coaching tools you own. Film your delivery from the side and from behind, ideally in slow motion (120 or 240 frames per second), and look for common velocity leaks — the arm lagging behind the body, the front knee drifting forward, or an inconsistent release height.
Change one thing at a time and re-film so you can see whether it helped. The same habit of checking yourself on video is just as useful when you are working on throwing accuracy, not only raw speed.
Setting up a home throwing space
To train seriously you need a flat, stable area and a reliable way to catch the ball. A heavy-duty net or “sock” net that can absorb hard throws is the core piece of kit; a spike-in pitching rubber gives you a fixed reference point for stride length, and a portable mound lets you practise the downhill angle of a real one if you have the room and budget.
The official distance from the rubber to home plate in adult baseball is 18.44 metres (60 feet 6 inches), though junior grades pitch from shorter distances. If you cannot fit the full distance, “short-box” work from closer in is still valuable for grooving mechanics. Always add a target, such as a strike-zone frame, so the hunt for speed does not cost you control.
At-Home Training Methods Compared
| Method | What it develops | Typical equipment | Key caution |
|---|---|---|---|
| Towel drill | Extension, timing and arm path with no ball impact | Hand towel, a target | Keep the elbow at shoulder height; supplements, never replaces, throwing |
| Weighted / plyo-ball throws | Arm speed (lighter balls) and arm strength (heavier balls) | Plyo-ball set, sturdy net or wall | Higher injury risk; not for young, growing arms without supervision |
| Medicine-ball throws | Rotational hip-to-shoulder power | 2–4 kg medicine ball, brick wall | Move explosively but keep a stable, braced core |
| Resistance-band (J-Band) routine | Rotator-cuff and shoulder-blade endurance | Arm-care bands, fence or door anchor | Slow and controlled; this is maintenance, not a power drill |
| Plyometric jumps | Explosive lower-body force | Flat ground, optional box | Land softly; quality of movement over quantity |
| Video analysis | Self-correction of mechanical faults | Smartphone, tripod | Compare like-for-like angles; fix one fault at a time |
Recovery, workload and staying healthy
You do not get faster during a workout; you adapt afterwards, while you rest and sleep. High-intensity throwing creates small amounts of muscle damage that the body repairs with adequate sleep (teenagers generally need eight to ten hours), good hydration and enough protein. Light movement such as easy band work or a short jog the day after a hard session can help you recover.
Workload is the single biggest factor in arm health. The Pitch Smart guidelines from MLB and USA Baseball set daily pitch limits by age — for example, 75 pitches for ages 9–10, rising to about 105 for ages 17–18 — with required rest days based on how many pitches were thrown, and they warn against pitching year-round. No one should pitch competitively on three consecutive days. Building these limits into your plan, alongside a steady diet of youth baseball drills, keeps progress sustainable.
Disclaimer
This article is general information about pitching training, not medical, coaching or injury-management advice. High-intensity throwing and weighted-ball work carry a real risk of shoulder and elbow injury, and that risk is higher for young players whose growth plates are still developing. Before starting any velocity programme, speak with your club coach and, if you have any pain or history of injury, a doctor or physiotherapist. Follow the age-based pitch-count and rest limits in the MLB and USA Baseball Pitch Smart guidelines, and stop immediately if you feel sharp pain.
Sources
- MLB & USA Baseball — Pitch Smart Pitching Guidelines
- International Journal of Sports Physical Therapy — The Safety and Efficacy of Weighted Baseballs
- Mike Reinold — Are Velocity Programs to Blame for the Rise in Pitching Injuries?
- The Hardball Times (FanGraphs) — The Physics of a Rising Fastball
- Baseball New Zealand
Frequently Asked Questions (FAQ)
Can I really increase pitching velocity by training at home?
Yes. Much of what builds velocity — lower-body drive, core rotation, mobility and arm-care endurance — can be trained in a backyard. Gains vary from player to player and usually appear over weeks and months of consistent work rather than overnight.
Are weighted balls safe for young pitchers?
They carry real risk. Research has linked weighted-ball programmes to shoulder and elbow injuries in a meaningful share of users, and the risk is higher for growing players. Young pitchers should only use them with coaching supervision and within sensible workload limits.
How often should I throw at maximum effort?
No more than about twice a week, never on three consecutive days, and always with rest in between. Follow the Pitch Smart pitch-count and rest guidelines for your age, and stop if you feel sharp pain.
Does the towel drill actually build speed?
It mainly grooms mechanics, timing and extension without the stress of releasing a ball, which lets you do more repetitions. Think of it as a useful supplement to throwing, not a replacement for it.
How can I measure my pitching speed at home?
A pocket radar unit or a radar-style smartphone app can give a reasonable estimate, and some apps calculate speed from slow-motion video. Treat home readings as a guide, since accuracy varies with distance and setup.